Article: The Schedule Report content
The Schedule report allows you to view all student schedules simultaneously, either in a Calendar view, a List view, or even a generated one. CSV to enable you to import the data into a spreadsheet program.
There are two ways to get the report.
Access via your Reports Dashboard.
(Use this one if you want the data in a List or exportable to a .CSV.)
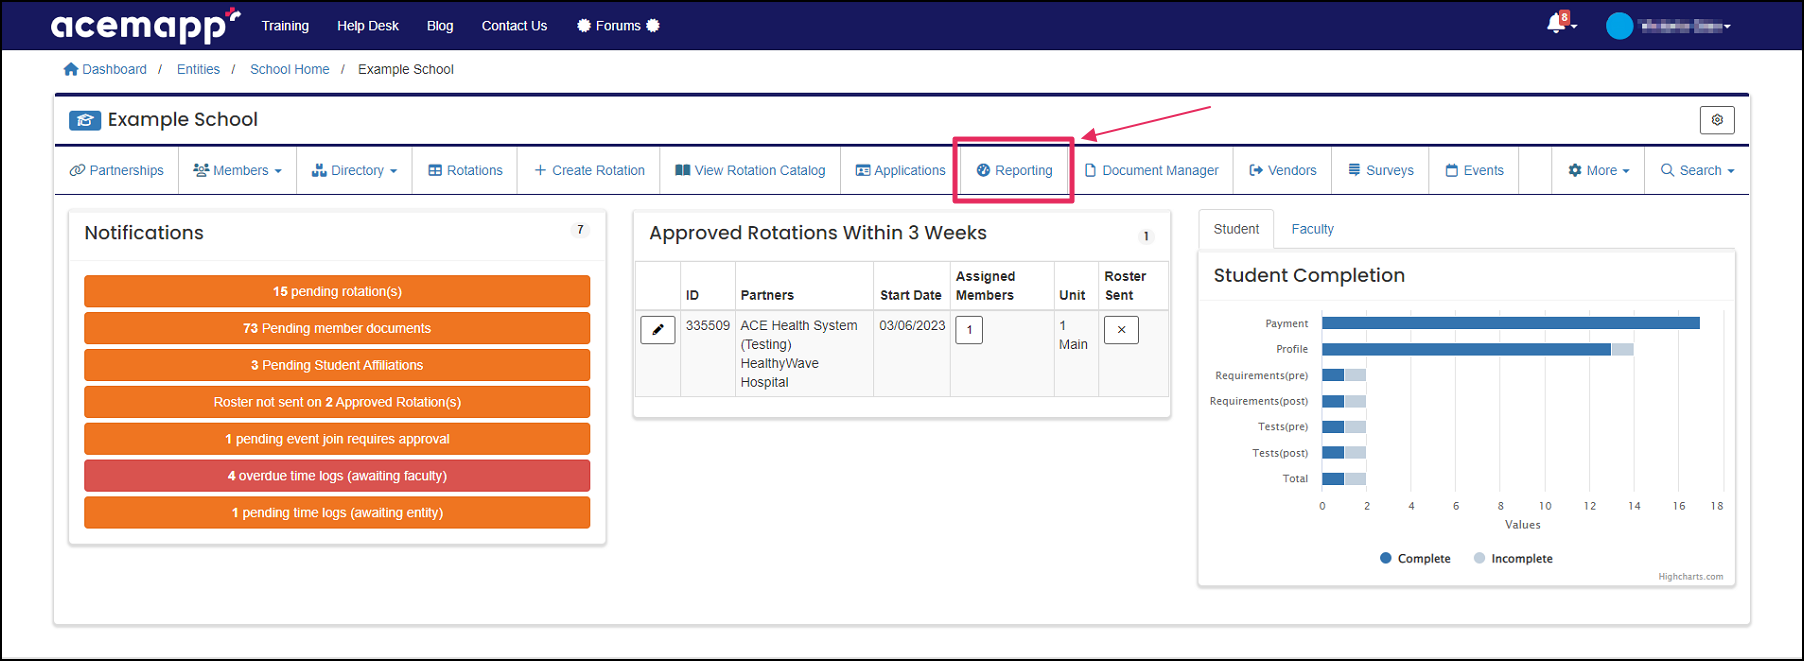
Step 1: Open the Reporting Dashboard
From your home screen, click the "Reporting" tab to open the Reporting Dashboard.
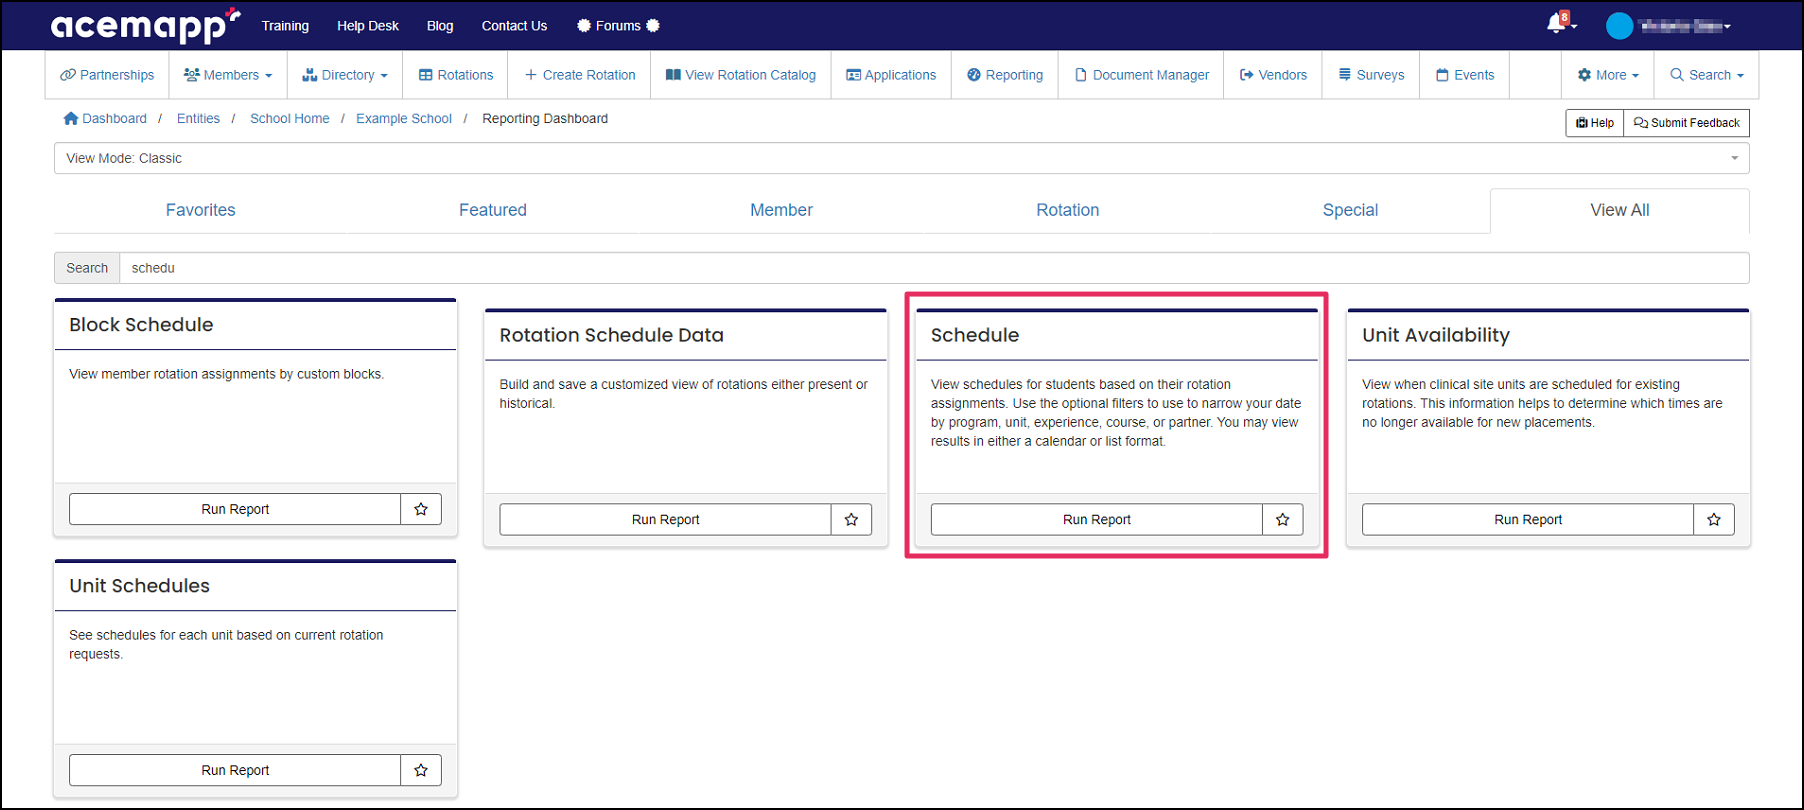
Step 2: Select the Schedule Report
Find and click on the "Schedule Report" tile.
Step 3: Adjust Filters
Add or remove filters as needed.
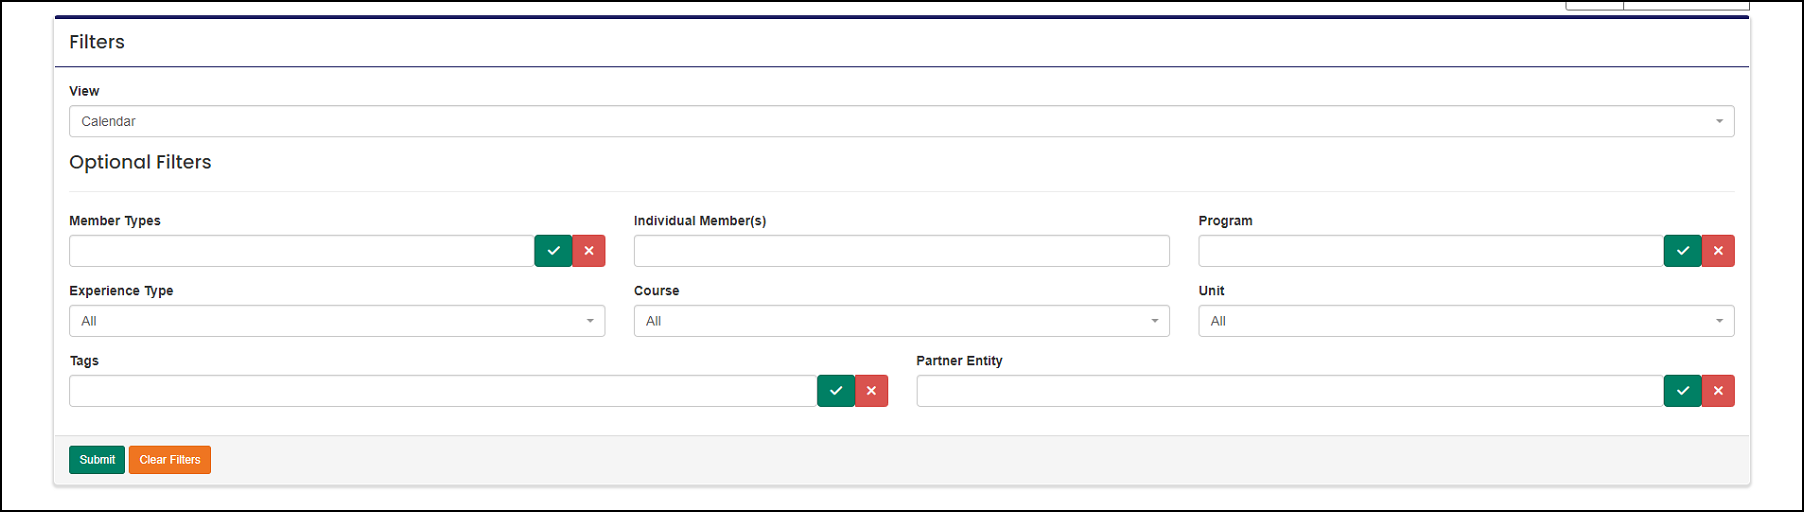
Step 4: Submit to View Results
Click "Submit" to see your results on the screen.
Access via the Manage Member (Student, Faculty, Preceptor) table.
(Use this one if you just want to see your students from a calendar view.)
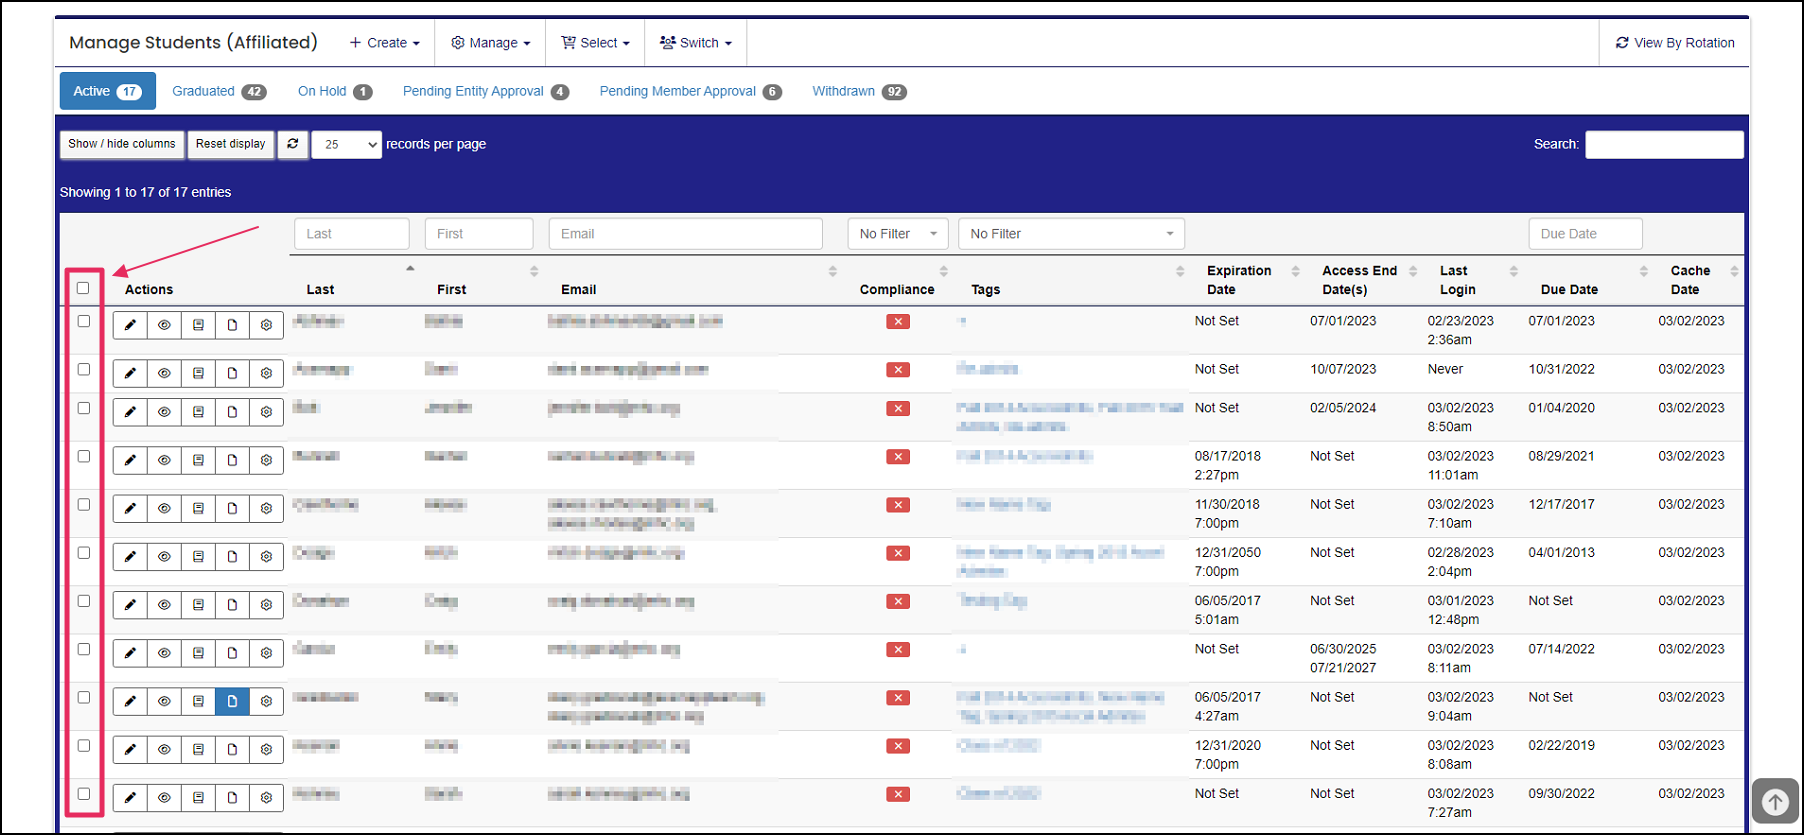
Step 1: Access the Member List
From your home screen, click the "Members" tab and select the appropriate member type from the drop-down.
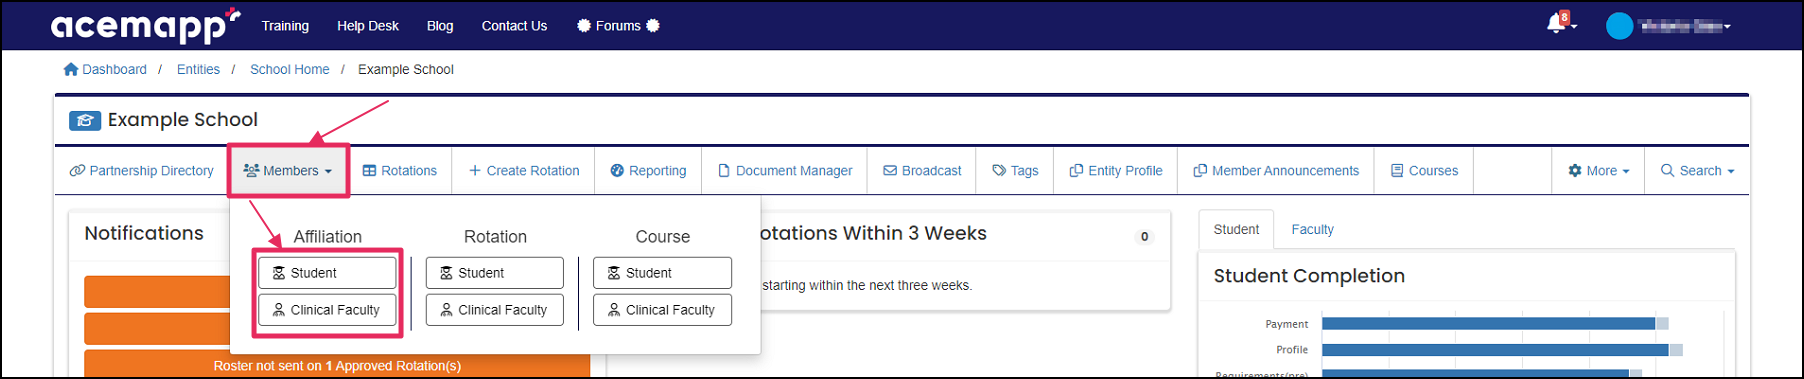
Step 2: Select Members
Inside the Manage Member table, select the member(s) you would like the report to be run on.
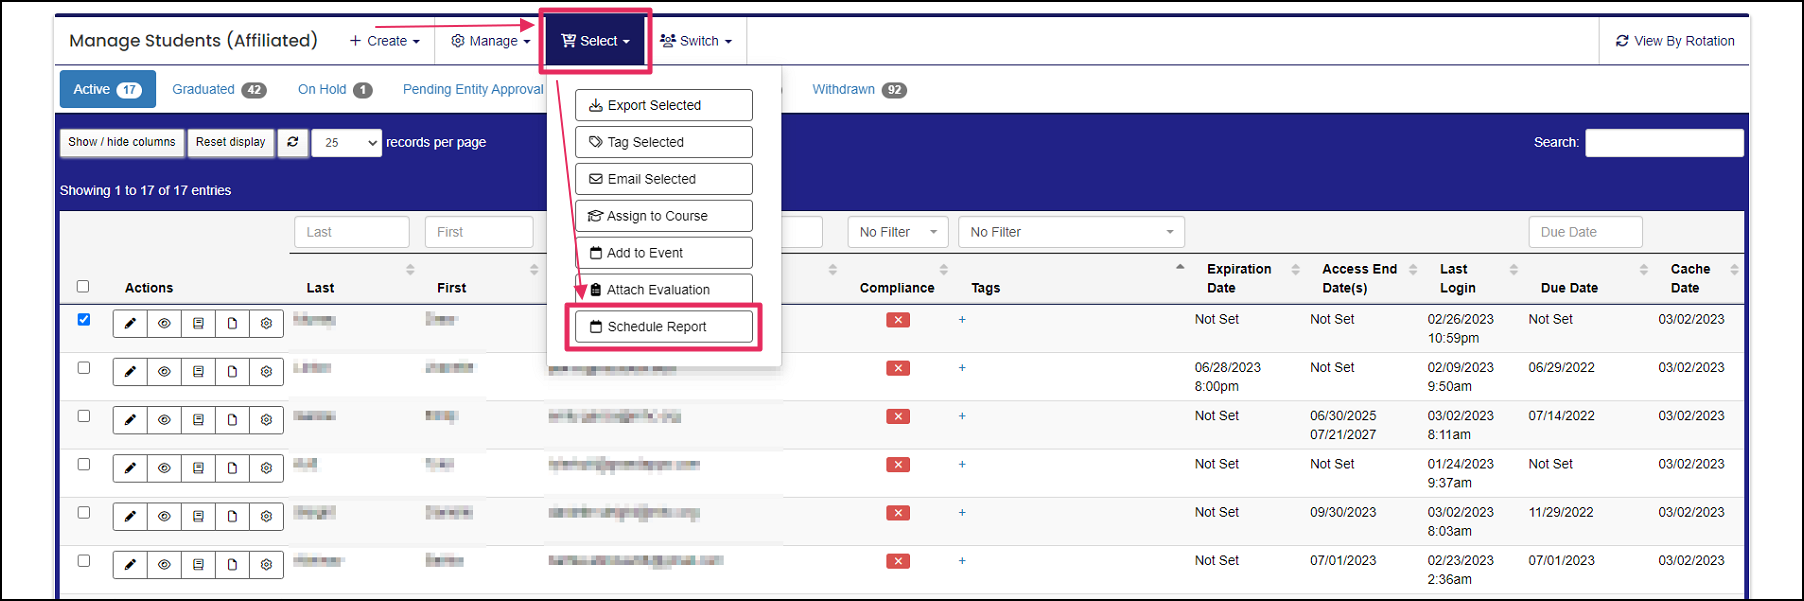
Step 3: Open the Schedule Report
Click on the "Select" tab and select "Schedule Report" from the drop-down.
NOTE: The Schedule Report opens with the member(s) already populated, and the report appears in the calendar view.
Step 4: Adjust Filters
Add or remove filters as needed.
Step 5: Submit to View Results
Click "Submit" to see your changes on the screen. NOTE: To see the report in List View, or if you want the data exported to a . CSV, click the "Reset Report" button. This will completely reset your selection, clearing it out. All the options will need to be selected again, and the view switched to List._

