Article: Time Log Report content
The ACEMAPP Time Logs Report provides a table and an exportable spreadsheet of your approved time logs, showing the time spent on your clinical experiences. Use this guide to access, filter, and export your time log data.
Note: Only APPROVED time logs are included in these reports.
Accessing Your Time Logs Report
Step 1: Navigate to Time Logs
From your student home page, click "Time Logs"

NOTE: If you do not see the Time Logs icon on your home page, click "More," and from the dropdown, click the "Time Logs" button.
Step 2: Select a Time Log Type
If you have multiple types of Time Logs, the Time Logs screen will open by default with a table of all available Time Log Types, allowing you to select the appropriate type. From the table, click the link for the time log type you wish to open. If you only have one available type, skip to Step 3.

Note: Time Logs created seven or more days ago and are still 'Pending Approval' will be highlighted in red.
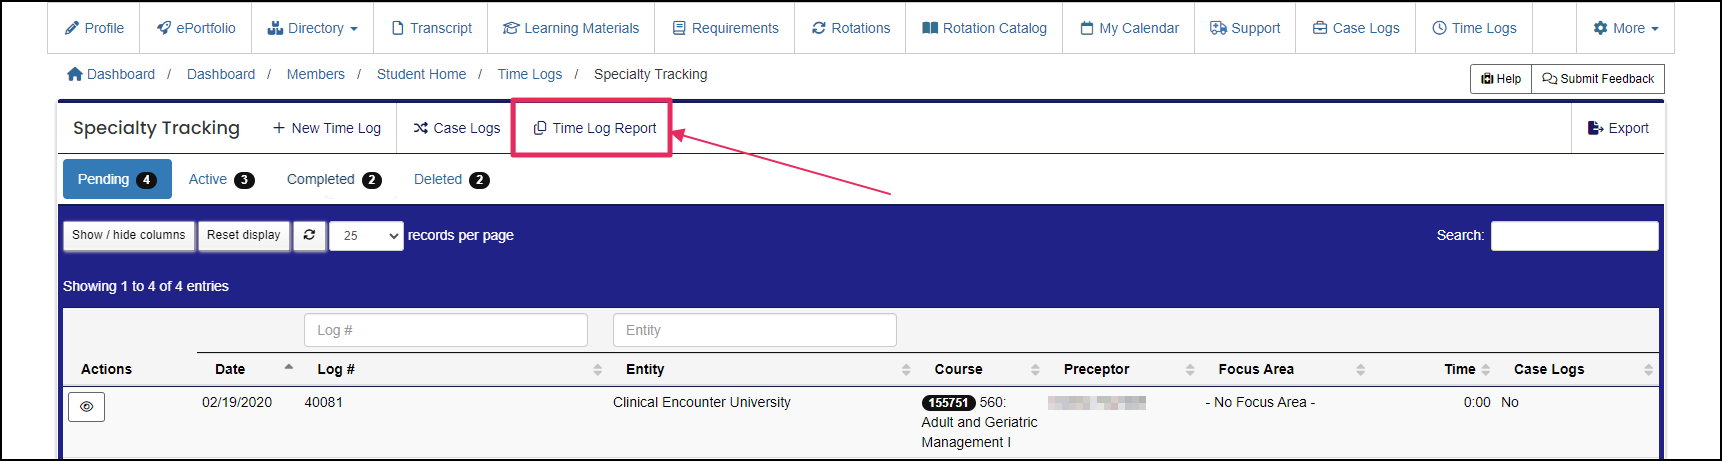
Step 3: Open the Time Log Report
Click the "Time Log Report" button to open the report configuration.
Step 4: Apply Filters
Complete the fields or select filters to narrow down your report. Click "Apply Filters" to update the results table.
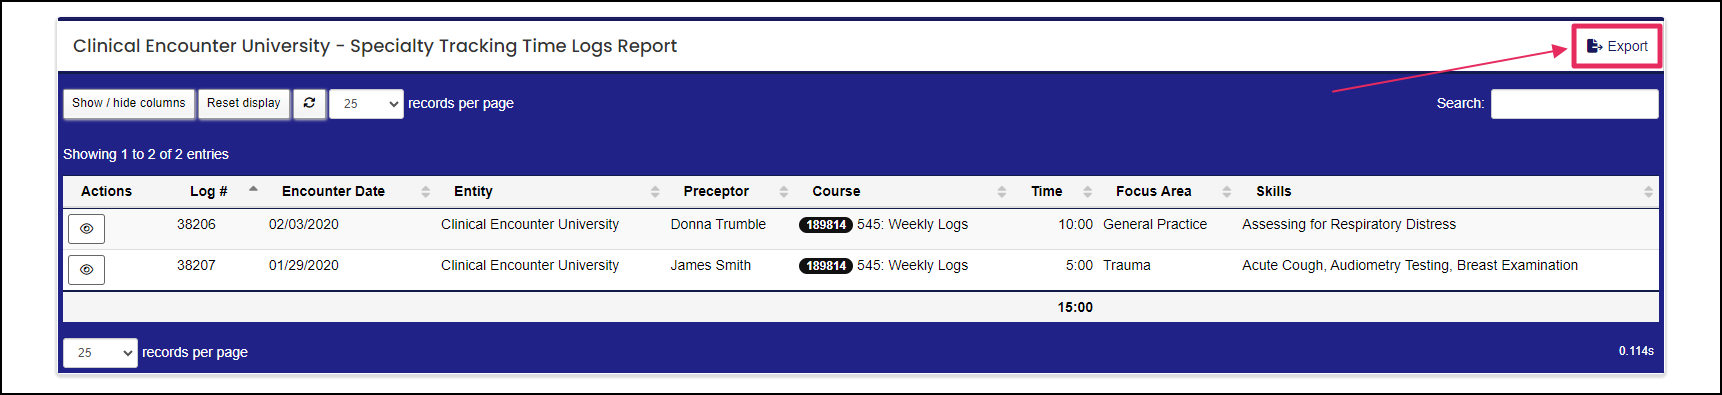
The results table shows:
- Log #
- Encounter Date
- Entity
- Preceptor’s Name
- Course (rotation number and name)
- Time on report
- Specialty and Skills selected
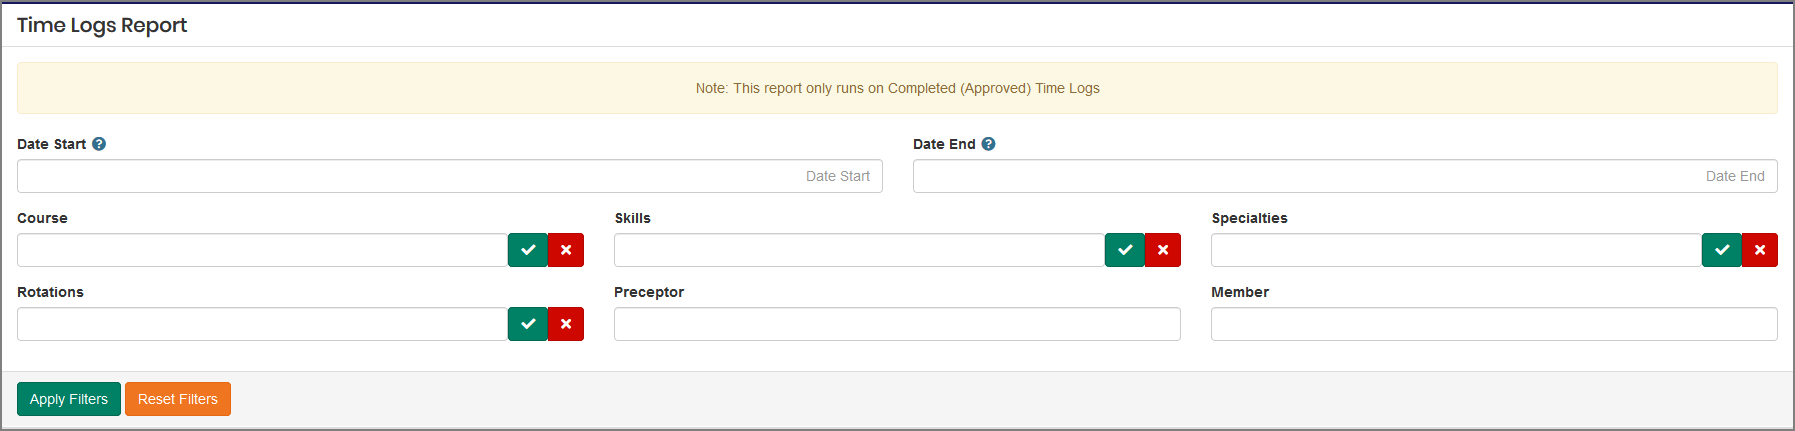
Note: The "Date Start" and "Date End" use the Encounter Date, not the rotation date.
Step 5: Export Your Report
To export the results, click the "Export" button. The export will also include any notes saved with the Time Log.
Accessing the Historical Time Log Report
Step 1: Open Manage Screen
From any screen, click on your name in the top right of your screen and click "Manage" to open the manage screen.

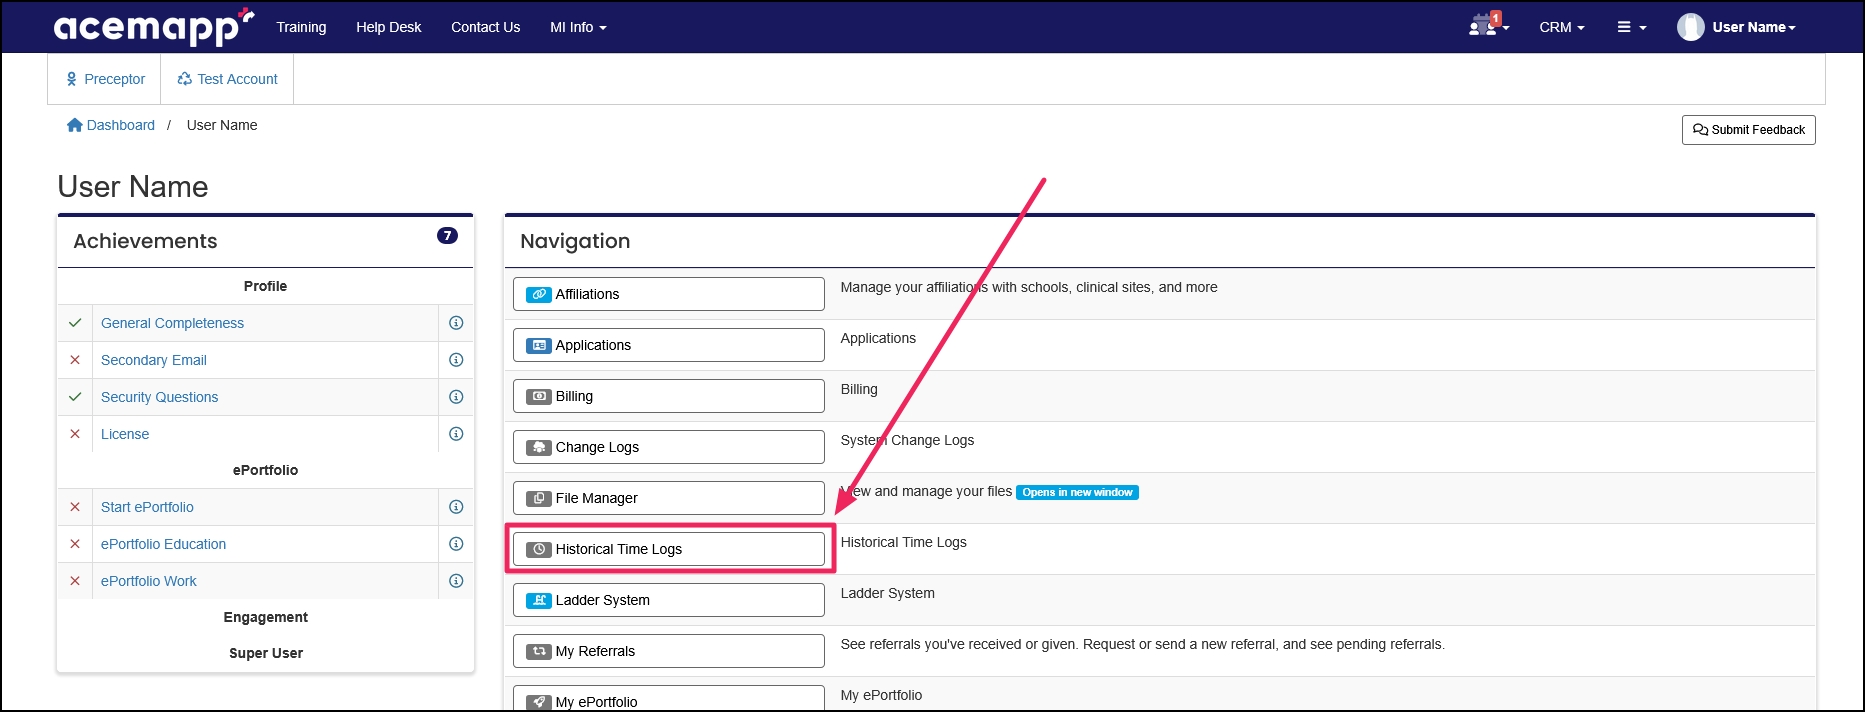
Step 2: Open Historical Time Logs
Click on "Historical Time Logs" to open a complete listing of all Time Logs.
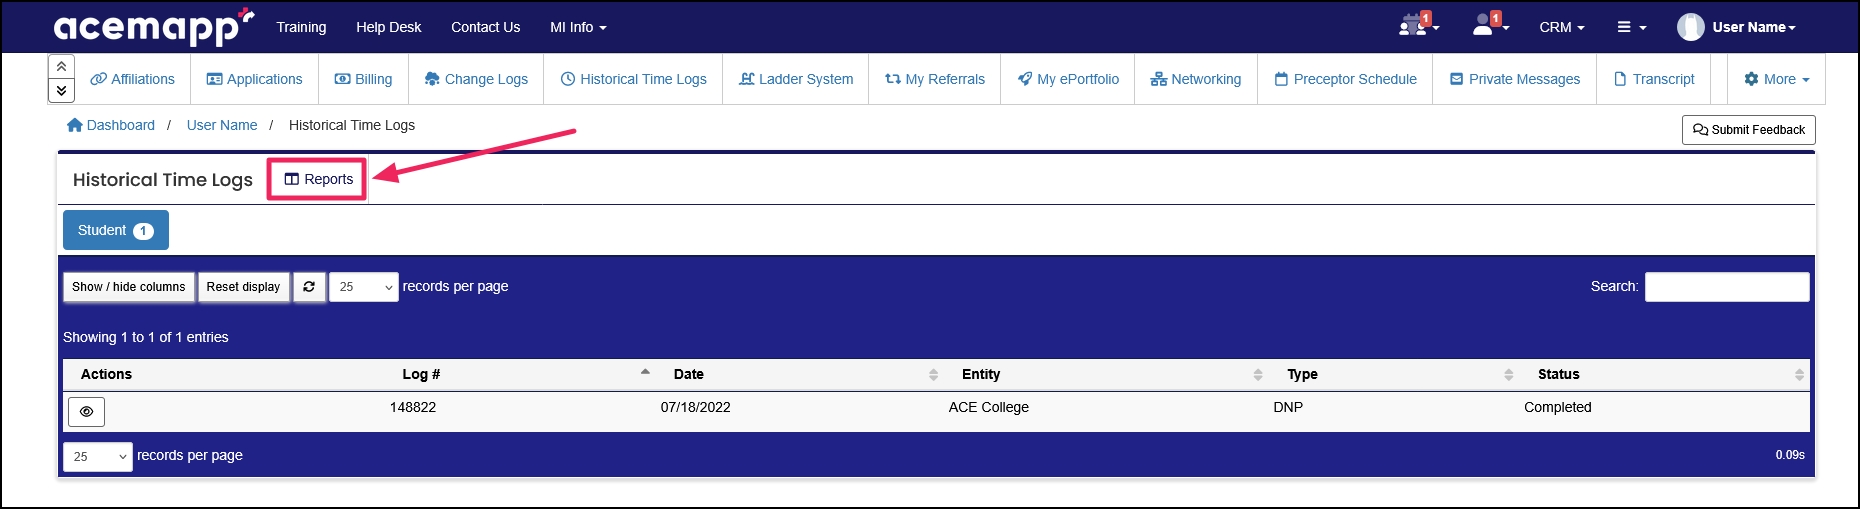
Step 3: Access Reports
Click on the "Reports" button.
Step 4: Apply Filters
Complete the fields or select filters to narrow down your report. Click "Apply Filters" to update the results table.
The results table shows:
- Log #
- Encounter Date
- Entity
- Preceptor’s Name
- Course (rotation number and name)
- Time on report
- Specialty and Skills selected
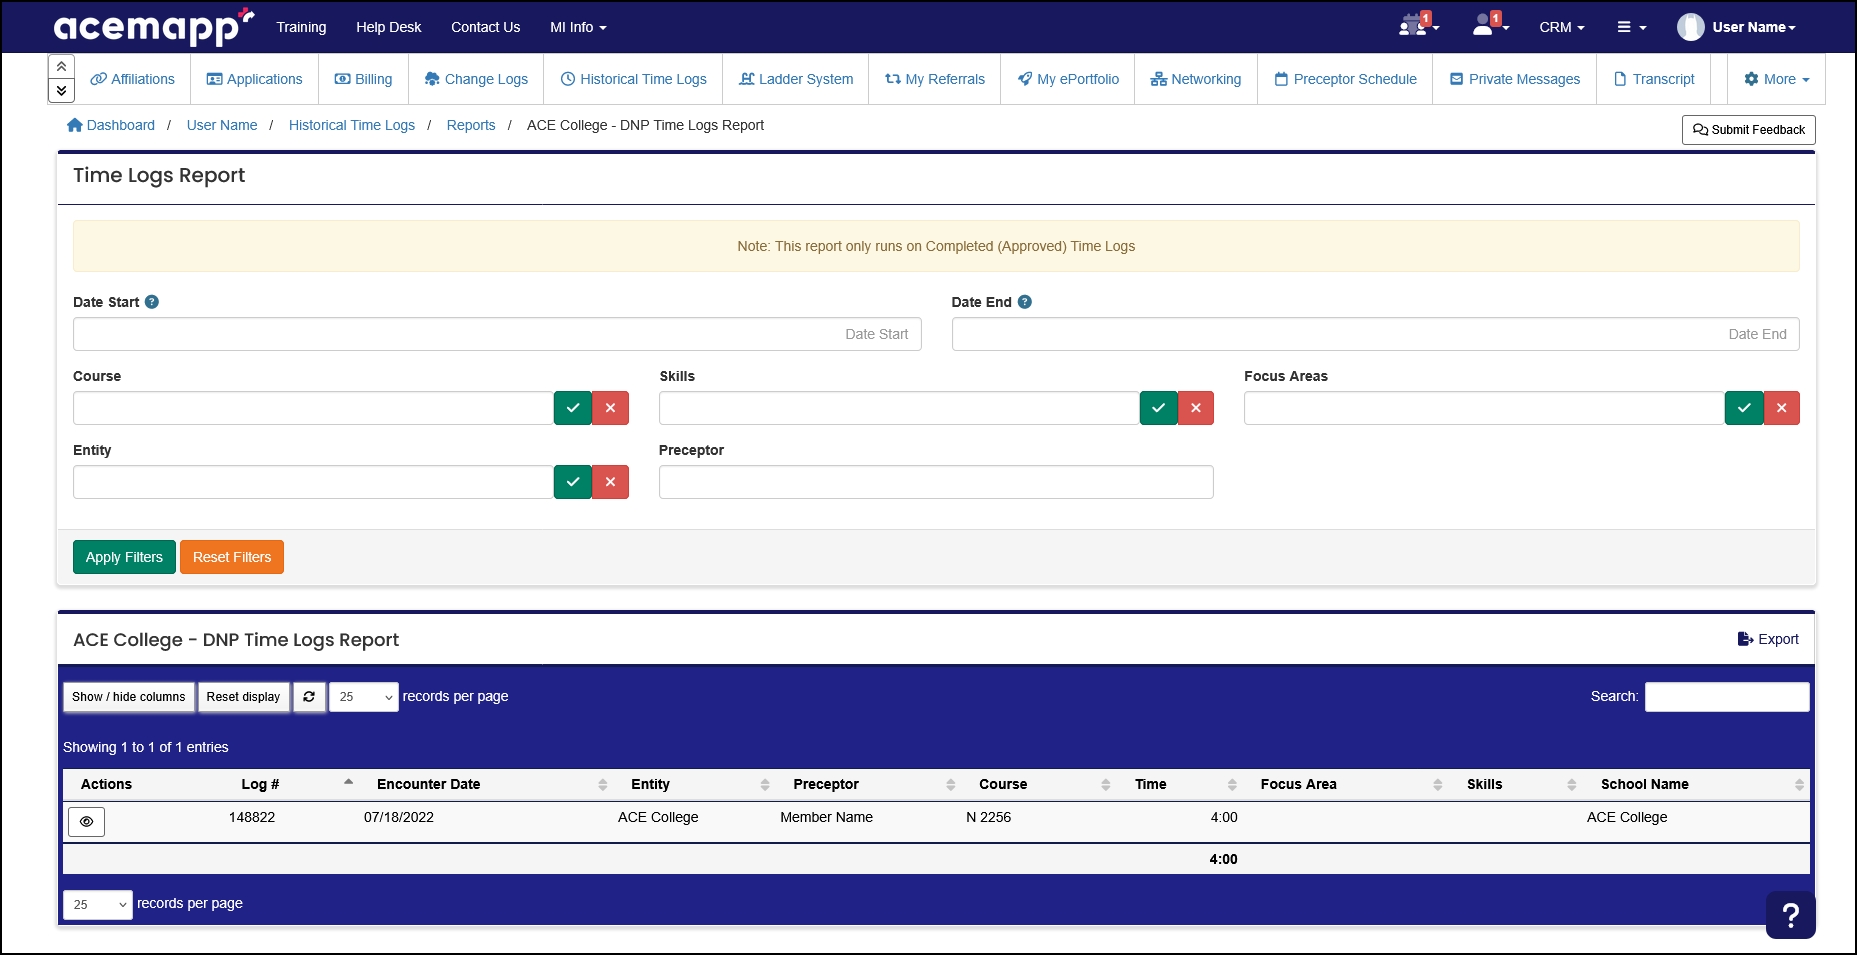
Note: The "Date Start" and "Date End" use the Encounter Dates, not the rotation date.
Step 5: View or Export Your Report
To export the results to an excel file, click the "Export" button. The export will also include any notes saved with the Time Log. The "View" button will bring you to a page that has a printable view of your Time Log.

An Entity is a School, Clinical Site, High School, Company, etc.
A rotation is a scheduled clinical experience.
A rotation is a scheduled clinical experience.
An Entity is a School, Clinical Site, High School, Company, etc.
A rotation is a scheduled clinical experience.
A rotation is a scheduled clinical experience.
