Article: Managing Rotation Catalog content
The Rotation Catalog System is designed to help you take complete control over your site's rotation availability, ensuring you manage resources more efficiently and streamline the rotation request process. This guide walks you through key features and steps to improve workflow and site management.
Benefits of the Rotation Catalog System
How This Supports Your Site's Needs:
- Efficient Rotation Management: Save time and reduce administrative burden by managing rotation availability in one centralized location.
- Real-Time Updates: Receive notifications and access critical information to stay on top of all pending and approved rotation requests.
- Customization Flexibility: Tailor your rotation availability to meet the needs of your specific clinical units and partner organizations.
Enter Rotation Catalog Availability
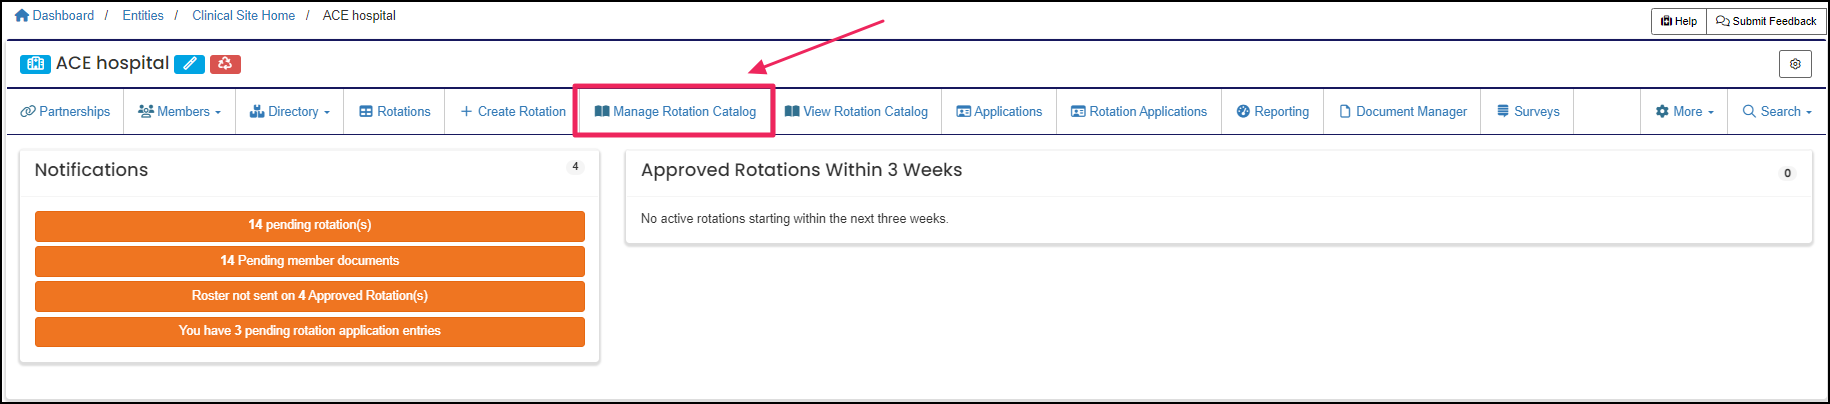
Step 1: Access the Rotation Catalog
Quickly create rotation entries tailored to your site’s needs, ensuring your availability is always up-to-date. Click the "Manage Rotation Catalog" button.
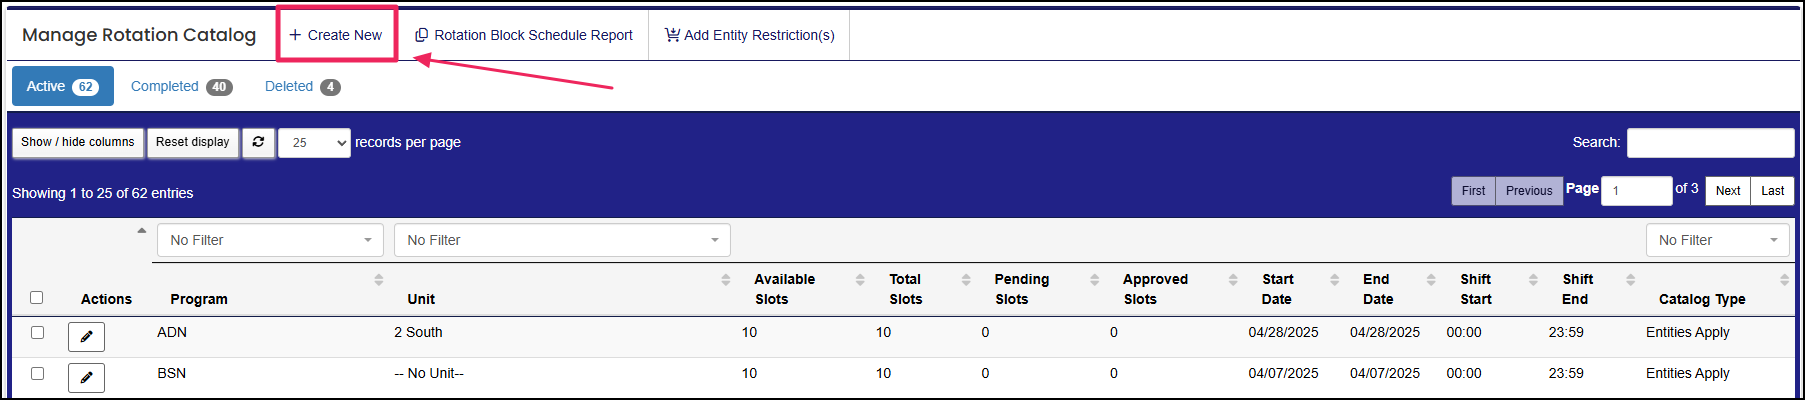
Step 2: Create a New Catalog Entry
Click "Create New" to create a new catalog entry.
Step 3: Enter Required Information
Fill in all required fields highlighted by the orange bar and asterisk, then click "Save". The "Who will apply?" field has two options - "Entities Apply" or "Members Apply". Select "Entities Apply" to allow your school partners to view and request slots.
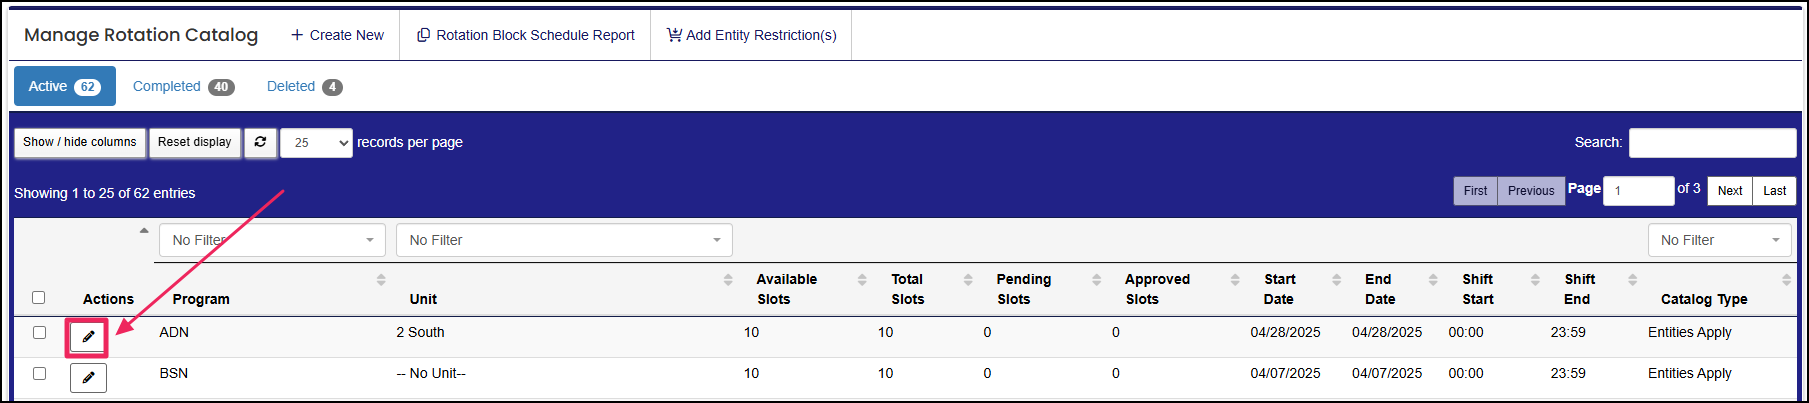
Step 4: Edit Existing Rotation
Click "Edit" the pencil icon under the Actions column to modify rotation details as needed, giving you flexibility to adjust to changing site requirements.
Step 5: Monitor Rotation Requests
All pending rotation requests submitted through the catalog are visible and tracked in the Manage Rotation Catalog table. Notifications are sent to administrators for timely review and action.
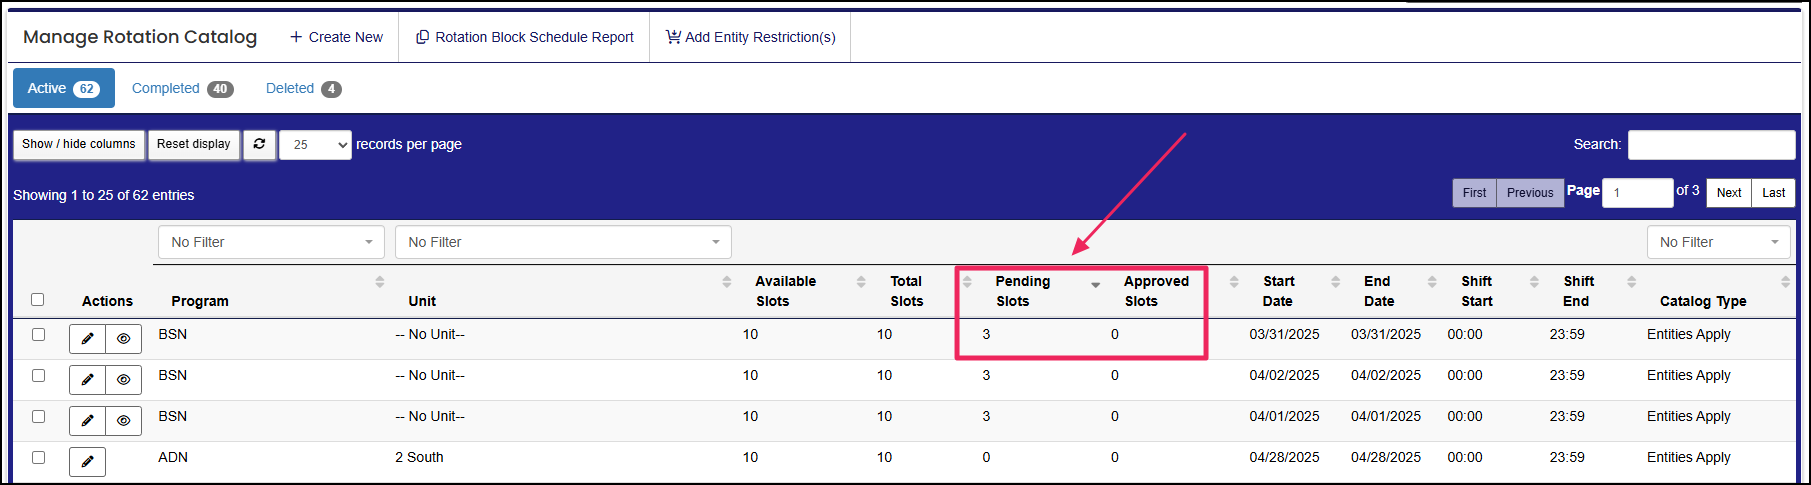
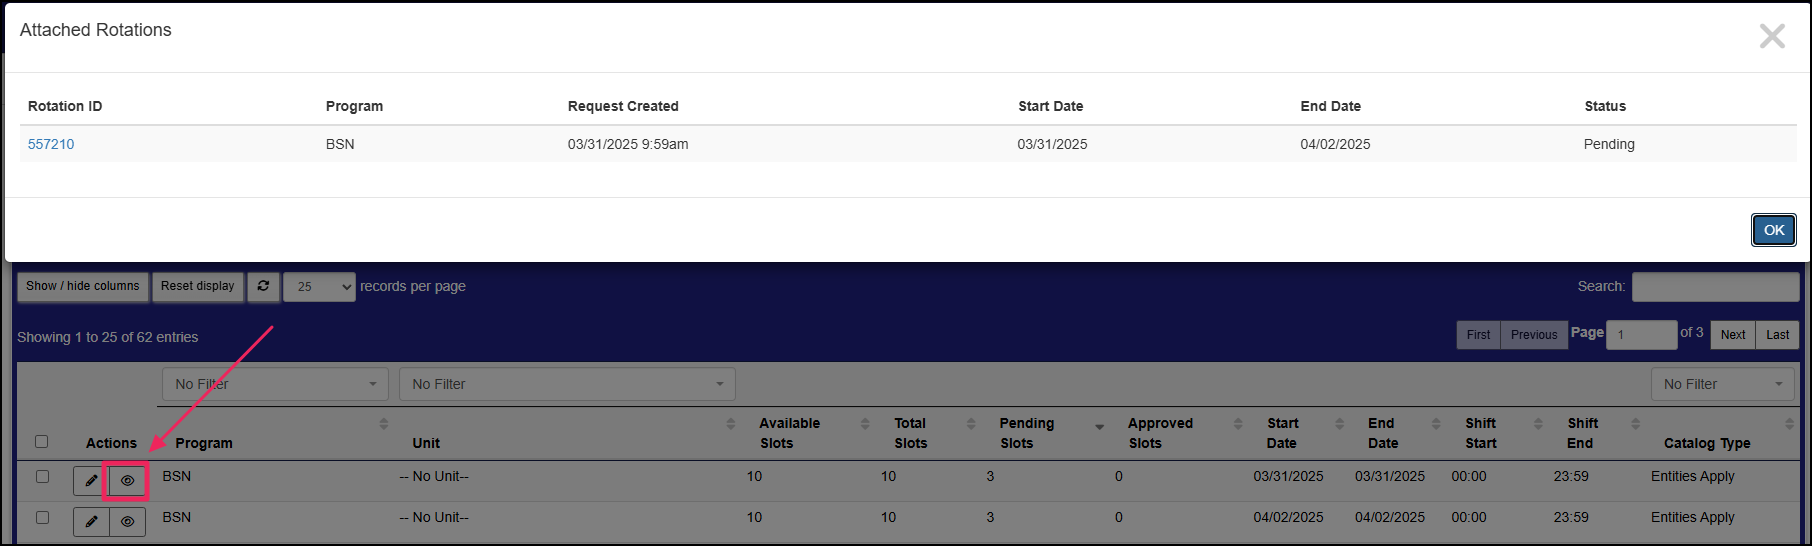
Step 6: Review Pending Requests
Click "View" on the rotation entry to see pending requests. For a comprehensive view, go to the Rotations table and select the "Pending" tab.
For detailed instructions, please see our help desk guide on managing rotation requests: Review Rotation Requests
Add Entity Restrictions
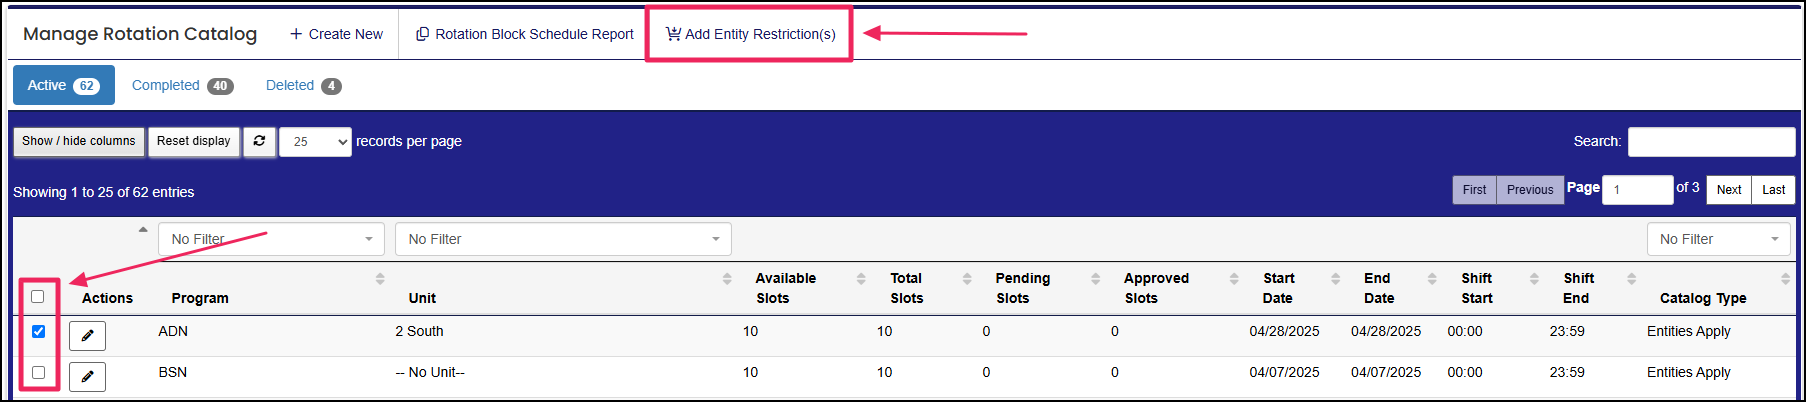
Step 1: Select Shifts to Restrict
Ensure only approved partners can access specific shifts, giving you complete control over rotation assignments. After you have entered available shifts in the rotation catalog, you can restrict shifts to specific partners. Begin by selecting the shifts you would like to restrict.
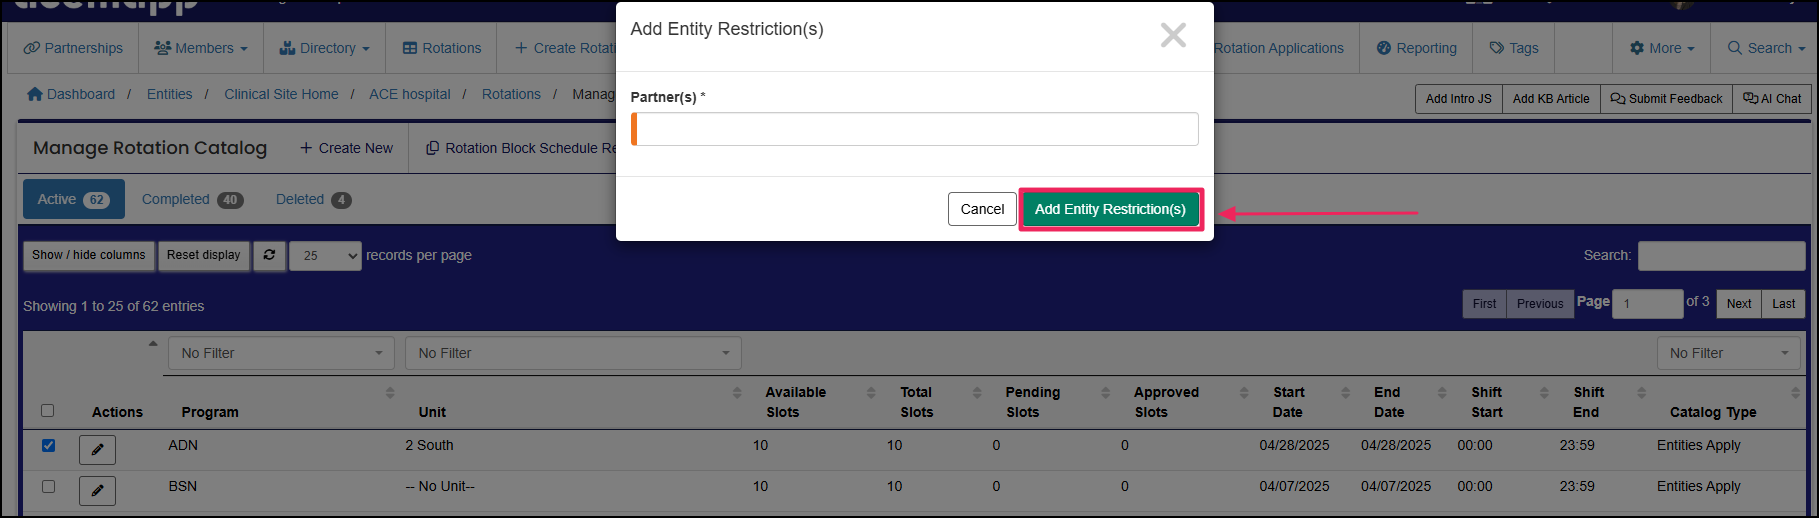
Step 2: Assign Entity Restrictions
Type the name of the partner you would like to have access to request the shift, then click "Add Entity Restrictions."
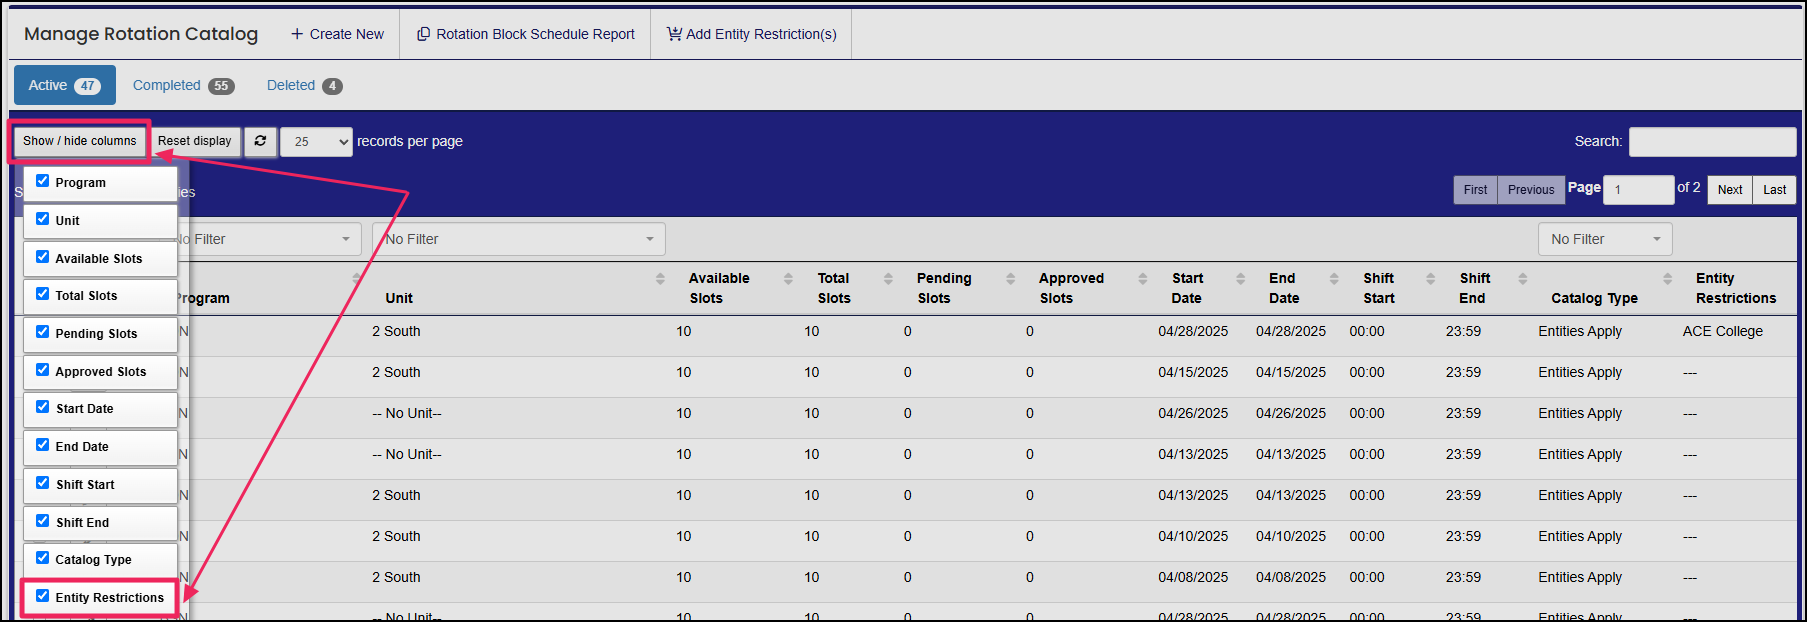
Step 3: View Restricted Partners
If needed, click the "Show/Hide Columns" button and check the "Entity Restrictions" option to include this column in the Manage Rotation Catalog table. This will allow you to view the partners a given shift is restricted to within your table.
Remove Entity Restrictions
Step 1: Edit Existing Restrictions
Click the "Edit" button in the Manage Rotation Catalog table to adjust or remove restrictions as your site’s needs change.
Step 2: Remove Selected Restrictions
Under the Restrictions section, check the box under the "Remove" column, then click "Save."

A rotation is a scheduled clinical experience.
A rotation is a scheduled clinical experience.
A rotation is a scheduled clinical experience.
A rotation is a scheduled clinical experience.
A rotation is a scheduled clinical experience.
A rotation is a scheduled clinical experience.
An Entity is a School, Clinical Site, High School, Company, etc.
An Entity is a School, Clinical Site, High School, Company, etc.
A rotation is a scheduled clinical experience.
A rotation is a scheduled clinical experience.
A rotation is a scheduled clinical experience.
An Entity is a School, Clinical Site, High School, Company, etc.
A rotation is a scheduled clinical experience.
An Entity is a School, Clinical Site, High School, Company, etc.
An Entity is a School, Clinical Site, High School, Company, etc.
An Entity is a School, Clinical Site, High School, Company, etc.
A rotation is a scheduled clinical experience.
An Entity is a School, Clinical Site, High School, Company, etc.
